So, like I said, nut butters sound so much more intimidating to make than they really are. Seriously, the food processor or blender does all the work for you. Pretty much the only skill you need is to be able to scrap down the sides of the processor with a spatula. That's it! You can have tasty nut butter in less than 5 minutes. The other good thing about being able to make your own is that you can make any flavor nut butter you want! Don't get me wrong I love peanut butter and almond butter but do you know what I love even more? Honey roasted peanut butter. It's absolutely amazing and way better than regular peanut butter! It's fun being able to experiment with different flavors of nuts to see which nut butters you like best. I made cashew butter for the first time the other week and I have to say I'm not the biggest fan. I think I'll try a version of honey-roasted cashews or another flavor to see how that would be!
Before trying this recipe, make sure you have a really high-powered blender if you don't have a food processor. My old Oster blender wouldn't stand a chance and not nearly have enough power. The Ninja Ultima we have worked perfectly so make sure your blender has enough power, otherwise, you'll be stuck with a mess of nut crumbs/pieces instead of a smooth butter!
Okay so here are the steps:
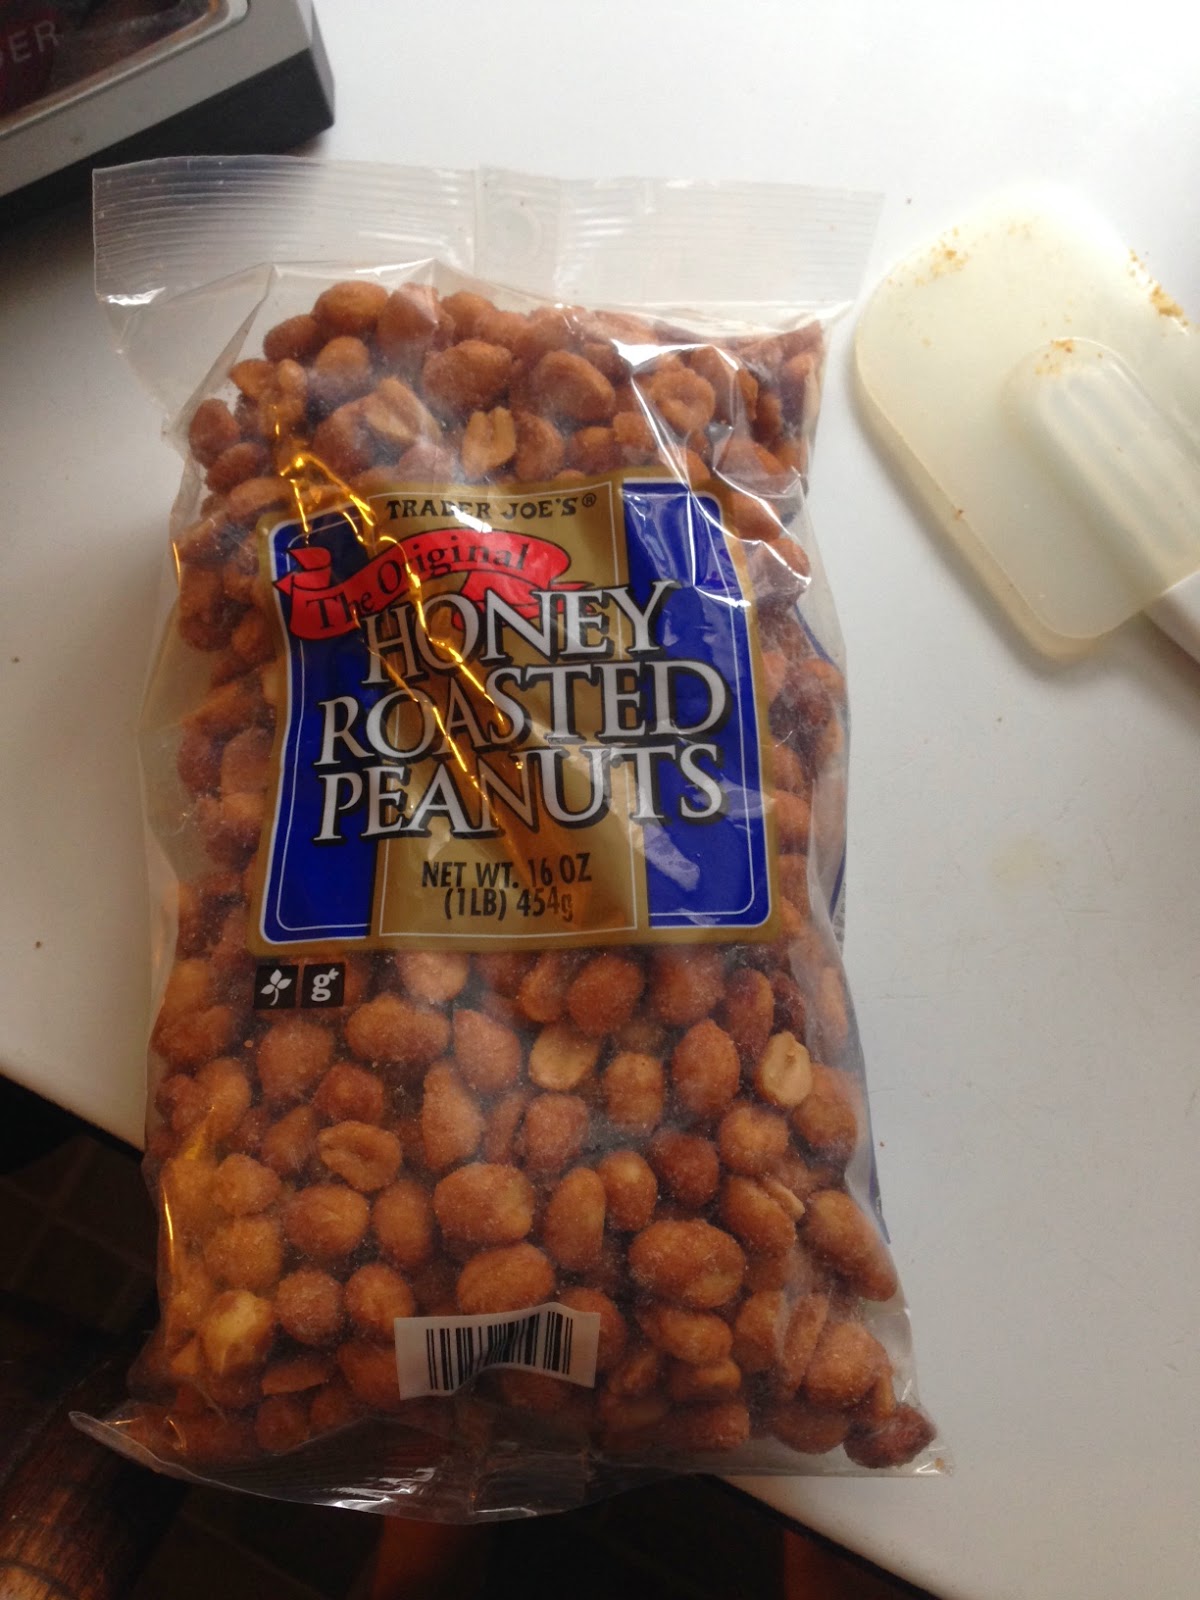
1. Pour the bag of nuts into the processor/blender.
2. Turn it on.
3. Watch it turn into butter!
Now, don't worry I'll break it down further for you because there are certain stages that happen during the blending process and the first time I did it I had no clue what was going on and if it would even work. First when you turn it on, it'll kind of turn into a mess of really fine crumbs and you'll think no way it'll smooth out into a paste. But just be patient and give it a minute. I usually stop and start it a few times so that I can scrap down the sides because the crumbs will fly all over the place inside.
Then after another minute it'll kind of harden all together and you'll still think there is no way it'll turn into a paste but still just be patient, I promise it'll work out! Okay so next I've split it up between using a food processor or blender because I've noticed there are differences. I just made it with a blender for the first time yesterday and it worked just as well but the stages go a little differently. So for your convenience I broke it up for you guys!
Food processor method: the next step is that it turns into a giant ball as the crumbs start forming and sticking together. It won't do much for a bit but just kind of form and sit there but eventually it should start spinning around the food processor. I usually have to hold it down at this part because the force of it moving around rocks the food processor. Give it another minute and eventually the ball will slowly break down and it'll turn into a paste! You can either stop it there but it can be on the chunkier/gritty side so I let mine go for a bit longer until it's super smooth and creamy. I can tell mine is at the consistency I like because when I dip in the spatula, the nut butter falls right off it in ribbons.
Blender method: I started the blender off on the highest speed (10 if using a ninja) until the crumbs became really fine. There won't be a ball that forms like in the food processor but slowly you'll see at the bottom the paste beginning to form. It doesn't seem like much is happening but give it another minute. Then I turned it down to a lower setting (1-2) and all of a sudden the paste formed just like that within seconds! I let it go for a little bit longer until it was extra smooth and creamy.
I've found that a 1lb bag (of any nut) makes about 1 jar of nut butter for me. I've just kept some of the old jars from my almond or peanut butter over the years and use those to store my own. It's much cheaper because it's usually around $7 for a jar at the store but mine costs anywhere from $4-6!

In the first stages with all the crumbs and pieces.

Smooth and creamy! This is my favorite part because it's still warm and I usually gobble up a couple spoonfuls. You know, just to make sure it's the right texture... :)
If you find that yours is just so dry and not forming a paste then you can always drizzle in a little bit of extra oil. I've had it happen before with a certain brand of almonds where I just couldn't get it to break down and ended up adding 1/2-1 tbsp. of sunflower seed oil. Of course you could always add the oil just because you like it but I prefer to allow the natural oils of the nuts to break it down into a paste.

Just store it in the fridge like you would do with any other nut butter. And enjoy!
One last quick note: it will firm up in the fridge as it cools down which is why I let it run a bit longer. It might seem too thin to you at the time but I promise it will harden more in the fridge. So it's a good idea to have it seem a little runnier than you might like so that it won't become too thick later on. It's all up to your preferences!
What other nut butter flavors would you like me to post?
No comments:
Post a Comment